Running Jupyter Notebook on Hyperstack
Jupyter Notebook is a versatile tool for interactive computing, enabling users to create and share documents featuring live code, equations, visualizations, and narrative text. Seamlessly integrating code execution with rich text elements, it's ideal for data exploration, visualization, and analysis.
In Hyperstack, Jupyter Notebooks can be deployed on Linux-based virtual machines in the cloud, harnessing the computing power of our GPUs. This integration simplifies infrastructure setup and management, allowing users to focus on data analysis without worrying about underlying complexities. By automating Jupyter Notebook installation on virtual machines, Hyperstack streamlines deployment, providing rapid access to powerful computing resources for projects.
Automatically install Jupyter Notebook on a virtual machine
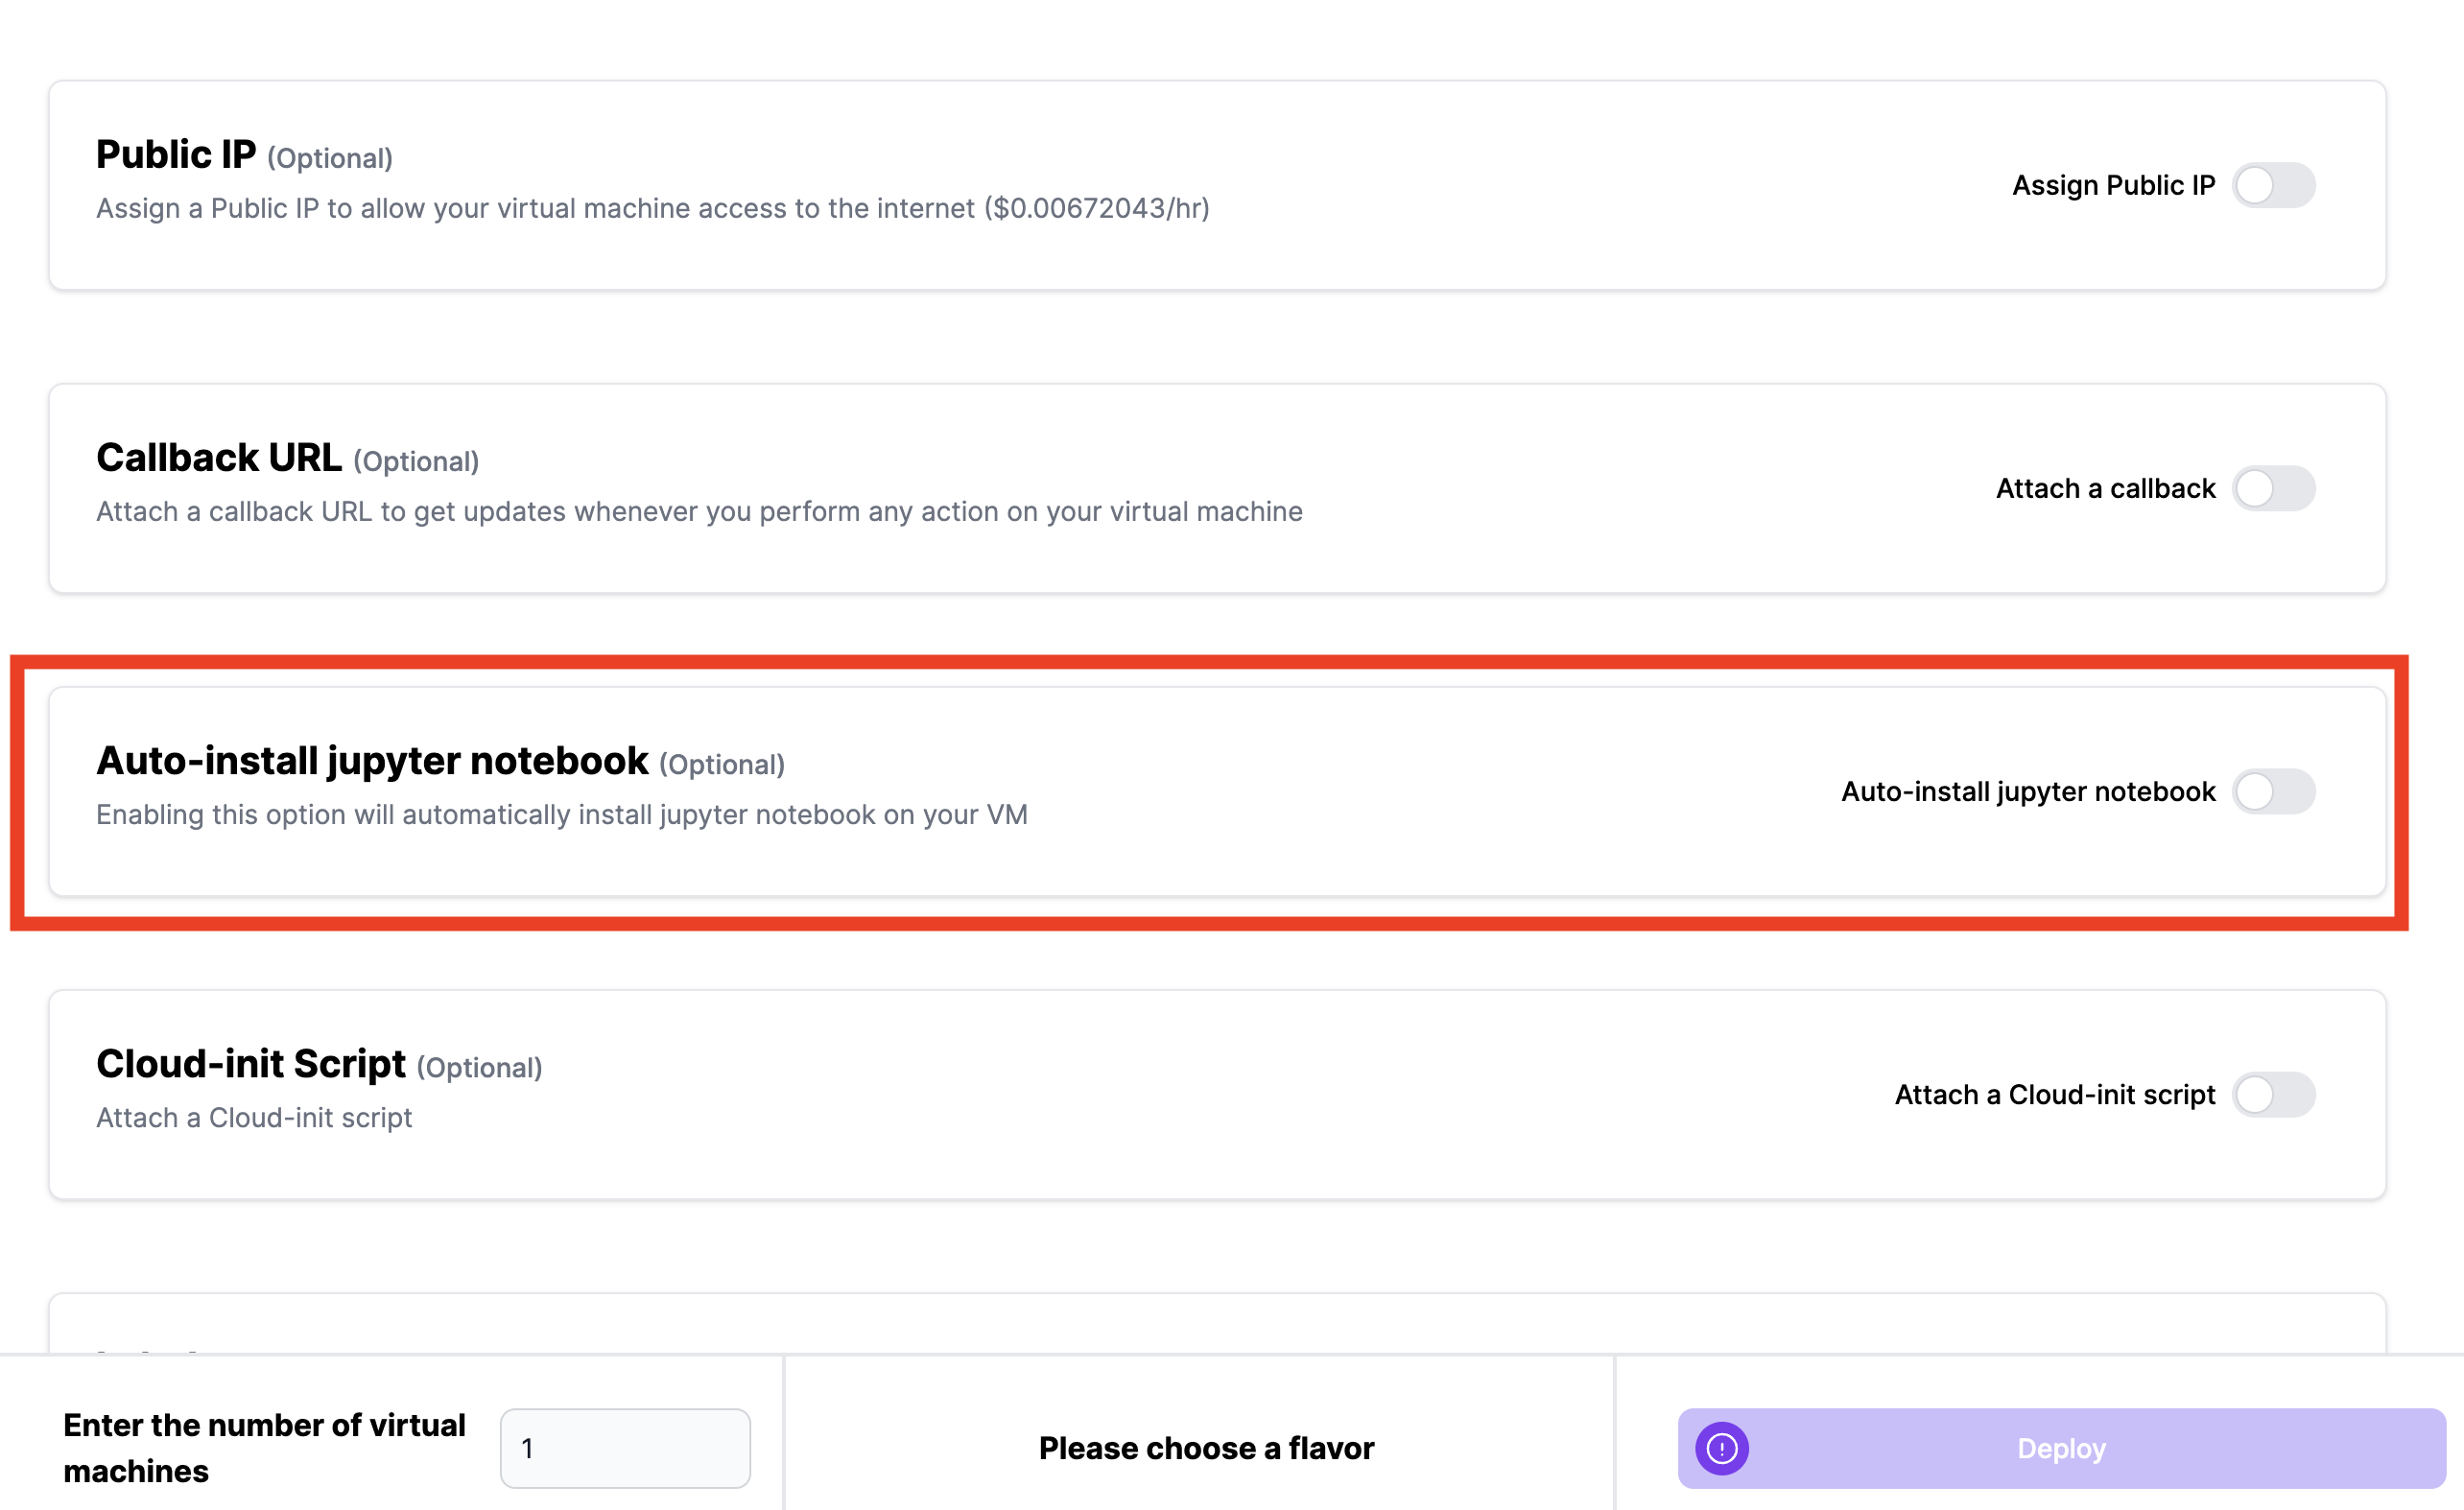
To automatically install Jupyter Notebook on a new virtual machine, simply toggle the "Auto-install Jupyter Notebook" option when deploying a virtual machine in Hyperstack, as illustrated in the image below.
For a more detailed tutorial on how to deploy a virtual machine with Jupyter and set up your first Notebook, click here.
After the virtual machine becomes active, the initialization of the Jupyter Notebook server will take approximately 5 minutes.
- The Jupyter Notebook server will become active on "https://[your_vm_ip_address]:8888".
- The "https://" prefix is required for the URL to be functional.
Tutorial: Manually deploying VMs with Jupyter Notebook
If you prefer to deploy the Jupyter Notebook manually, refer to the tutorial article linked below. Here, we demonstrate how Hyperstack eliminates the challenges of local notebooks, providing professional-grade capabilities. Hyperstack empowers users to effectively run notebooks, whether prototyping ideas or working with large datasets.